SCOURGE PANEL V2

How to Use the Whitelist in Scourge Panel

The Whitelist page in the Scourge Panel shows all approved players, lets you add or remove them, and provides live controls for server access settings - all from the browser without editing any files.

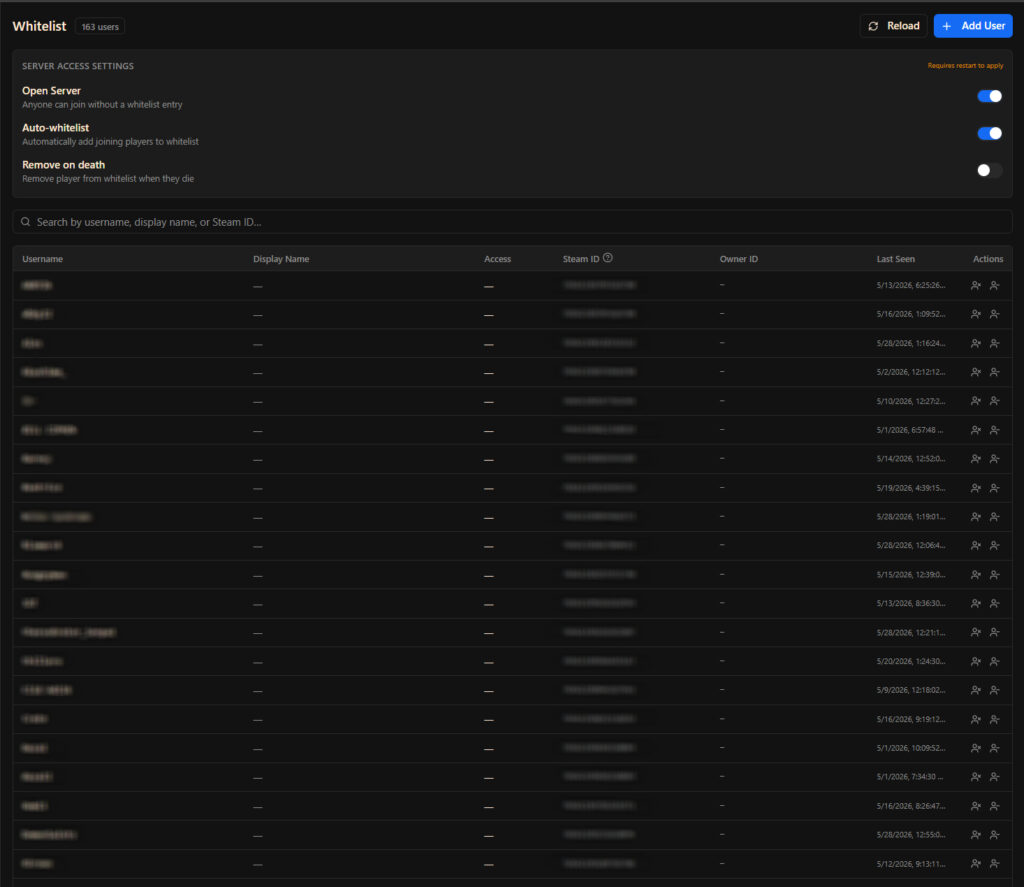
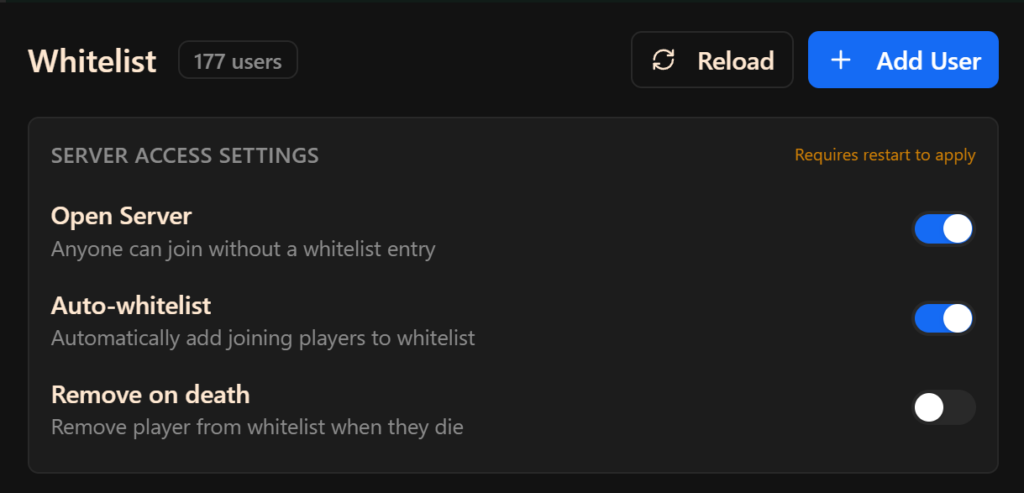
What the Whitelist Does

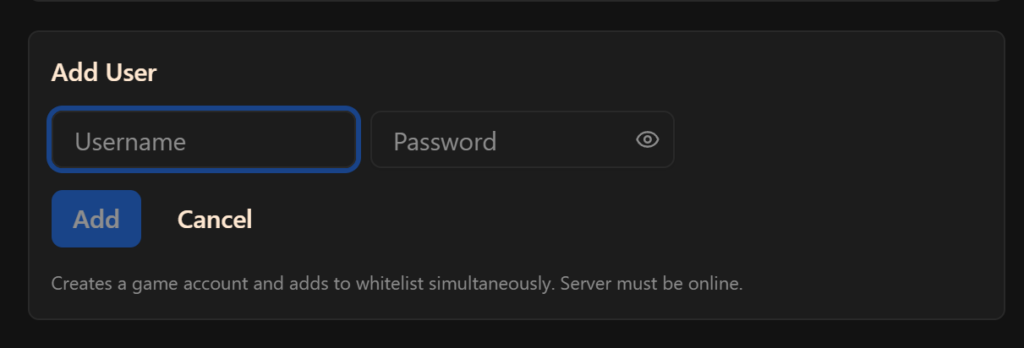
When whitelist mode is enabled on your server, only players you have approved can connect. Everyone else receives a rejection message at the login screen. The whitelist is stored in a SQLite database (whitelist.db) on the server and managed through RCON commands, which the panel handles automatically behind the scenes.

Whitelist vs Password

A server password is simpler to set up - anyone with the password can join. A whitelist requires you to explicitly approve each player, giving you precise control over who is on your server. For community servers with an application or vetting process, a whitelist is the better choice. For a small group of trusted friends, a password is usually sufficient.

01

Open the Whitelist Page

In the Scourge Panel sidebar, click Whitelist. The page loads your current player list and three access setting toggles at the top.

Open the Whitelist Page
02

Configure Server Access Settings

The three toggles at the top control how your server handles player access. Changes require a server restart to apply.

  • Open Server - when on, anyone can join freely; turn this off to enforce whitelist-only access
  • Auto-whitelist - automatically adds new players to the whitelist when they first connect
  • Remove on death - removes a player from the whitelist when their character dies, for permadeath servers
Configure Server Access Settings
03

Add a Player

Click Add User and enter the player's username and a password. This creates both the game account and the whitelist entry in one step - the player uses this username and password when connecting to your server.

The server must be online for this to work.

Add a Player
04

Remove or Kick a Player

Find the player in the list using the search bar (search by username, display name, or Steam ID) and use the action buttons on the right:

  • Kick - disconnects the player immediately. Server must be online.
  • Remove - removes them from the whitelist. They cannot reconnect once removed.
05

Family Share Detection

The panel automatically flags players who are using Steam Family Sharing. If a player's Owner ID differs from their Steam ID, their Owner ID is highlighted in amber with a family share label. This lets you make informed decisions about access for shared accounts.